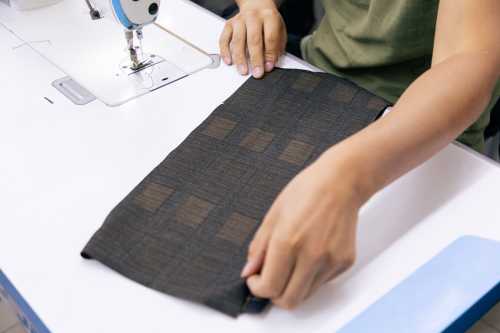
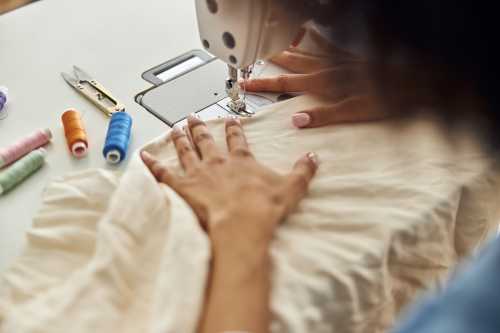
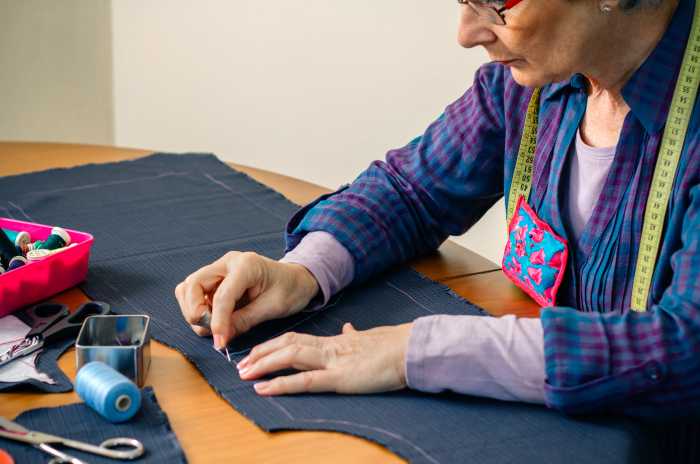
There are a few different ways that you can repair a tear in fabric. If the tear is small, you can try using a needle and thread to sew it shut. If the tear is larger, you may need to use a patch. To do this, simply cut a piece of fabric that is slightly larger than the tear and sew it over the hole.
You can also use iron-on patches, which are available at most craft stores. To use an iron-on patch, simply position the patch over the hole and follow the instructions on the package. With a little bit of effort, you can easily repair any torn fabric.
In a world where we are constantly inundated with fast fashion and the newest trends, it can be easy to forget the value of clothes that last. Many of us have pieces in our closet that we’ve had for years, and while they may be well-worn, they still hold a special place in our hearts. But what do you do when one of your favorite pieces tears or frays ? You could throw it away and replace it, but that’s not very sustainable (or economical). Instead, try mending your clothes !
Mending your clothes is a great way to extend their lifespan and give them new life. It’s also a satisfying process that can help you connect with your clothing in a deeper way. Lets explore some tips on how to mend your clothes so that you can keep wearing them for years to come.
How to Repair a Tear in Fabric

A tear in fabric can be a frustrating thing to deal with. Whether it’s a hole in your favorite shirt or a rip in your couch cushions, it can be tempting to just throw out the damaged item and start fresh. But with a little bit of time and patience, you can easily repair most tears in fabric. Keep reading to learn how.
What You’ll Need
Before you get started, you’ll need to gather a few supplies. For this project, you’ll need:
- needle and thread (or a sewing machine)
- scissors
- fabric adhesive (optional)
- patch of similar fabric (optional)
Step 1: Start by trimming away any loose threads from the tear. This will help prevent the tear from getting worse and make it easier to sew shut. If the fabric is fraying badly, you may need to trim away some of the damaged area so that you have a clean edge to work with.
Step 2: Once you have a clean edge, it’s time to start sewing. If you’re hand-sewing, use small, tight stitches to close up the tear. If you’re using a sewing machine, set it to a small stitch length and sew slowly so that you don’t make any mistakes.
Step 3: As you sew, try to line up the edges of the tear as closely as possible. This will help make the repair less noticeable.
Step 4: Once the tear is sewn shut, reinforce the area by sewing over it several times. This will help prevent the tear from reopening.
Step 5: Finally, knot off your thread and cut away any excess thread. Congrats—you’ve just repaired your fabric!
With just a little bit of time and effort, you can easily repair most tears in fabric. By following the steps above, you can make sure that your favorite shirt or couch cushion lasts for years to come.
How to Mend a Tear in Fabric

Whether it’s a hole in your favorite pair of jeans or a rip in your couch cushions, dealing with a tear in fabric can be frustrating. But before you throw out the damaged item or call up a professional, consider trying to fix the problem yourself. With a little time and patience, you might be surprised at how easy it is to repair a tear in fabric.
Supplies You Will Need
- Needle and thread (or a sewing machine)
- Scissors
- Pins
- Fabric glue
- Iron
- Patch of similar fabric (optional)
Step 1: Inspect the Damage
Before you start making any repairs, it’s important to take a close look at the damage and determine the best course of action. If the tear is small and not too deep, you might be able to simply sew it up. However, if the hole is large or goes all the way through the fabric, you will likely need to patch it.
Once you have a plan for repairing the tear, gather your supplies and get to work.
Step 2: Sewing Up a Small Hole
If the hole in your fabric is small, you can try sewing it shut with a needle and thread. Start by threading your needle and tying a knot at the end of the thread. Then, insert the needle into the fabric from the back side and come up through the front.
Next, insert the needle into the fabric again next to where it first came up and pull it through until there is only a small loop of thread left on the front side of the fabric. Finally, put the needle back through that loop and pull tight. Repeat this process until the hole is closed. Once you’re finished, tie off the thread on the back side of the fabric and trim any excess thread.
Step 3: Patching a Large Hole
If sewing isn’t an option, or if you simply prefer not to sew, you can patch a hole using fabric glue or iron-on adhesive patches. First, cut out a piece of fabric that is slightly larger than the hole. If you have trouble finding something that matches your fabric perfectly, try using a piece of felt or even iron-on interfacing.
Once you have your patch cut out, apply glue or adhesive around all four sides of the hole. Then, place your patch over top of the hole and press down firmly to adhere it to the fabric. If you are using an iron-on patch, follow package instructions for proper application. Allow plenty of time for glue or adhesive to dry completely before moving on to step four.
Step 4:
Ironing Away Wrinkles Once your repair is complete, give your item of clothing or piece of furniture one last once-over with an iron set on low heat. This will help smooth away any wrinkles or bumps caused by sewing or gluing and will give your repair an invisible finish.
And there you have it! With just a few simple supplies and some time on your hands, you can easily repair tears in fabric without having to replace damaged items or call in professional help.
Tears in fabric don’t have to mean saying goodbye to your favorite clothes or furnishings. By following these easy steps, you can make repairs at home quickly and easily—and without spending a fortune!
How to Fix a Tear in Polyester Fabric
Polyester is a durable fabric, but it can tear. If you have a tear in your polyester fabric, there are a few ways to fix it.
One way to fix a tear in polyester is to sew it. You will need a needle and thread that match the color of your fabric. To sew the tear, start by tying a knot in the end of the thread. Then, insert the needle into the fabric at the edge of the tear. Sew along the edge of the tear until you reach the other side. Tie another knot in the end of the thread to secure it.
Another way to fix a tear in polyester is to use adhesive tape. Adhesive tape is available in different widths and colors. Choose a tape that matches your fabric as closely as possible. Cut a piece of tape that is slightly longer than the tear. Peel off the backing from the tape and apply it over the tear. Press down on the tape to secure it in place.
If you have a large or gaping hole in your polyester fabric, you may need to patch it. Patches are available at most craft stores or online. To apply a patch, simply peel off the backing and press it into place over the hole. You can also stitch around the edges of the patch for extra security.
How to do Invisible Mending
Invisible mending is a great way to extend the life of your clothes and save money in the long run. It’s also relatively simple to do, and only requires a few supplies. Here’s a step-by-step guide on how to do invisible mending:
1. Choose your fabric and thread. The best fabrics for invisible mending are ones that are similar in color and weight to the garment you’re repairing. You’ll also want to choose a thread that closely matches the color of your fabric.
2. Cut a small piece of fabric from your chosen fabric, making sure it’s large enough to cover the hole or tear you’re repairing.
3. Place the piece of fabric over the hole or tear, and secure it in place with a few stitches.
4. Use a needle and thread to Ladder Stitch around the perimeter of the patch, being careful not to pull the stitches too tight (this will cause puckering).
5. Trim any excess fabric from around the patch, and press it in place if needed. Your repair should now be virtually invisible!
How to repair a tear in Fabric by hand
To mend a tear in fabric by hand, you will need:
# A needle
# Thread (preferably in a color that closely matches the fabric)
# Scissors
# A straight pin
# A thimble (optional)
1. First, thread your needle and knot the end of the thread. If you are using a light-colored thread on a dark-colored fabric, or vice versa, you may want to use a double thread so that the stitching is less likely to show.
2. Next, holding the fabric taut, insert the needle into the fabric at one end of the tear and come up through to the top.
3. Then, insert the needle into the fabric at the other end of the tear and come up through to the top. You should now have a loop of thread around the tear.
4. To secure the loop, take a small stitch in the fabric next to where the thread first emerged. Then, insert your needle into this loop and pull tight. You have now made your first stitch!
5. Continue making stitches along the length of the tear, spacing them about 1/4 inch apart. Be sure to keep your stitches small and neat so that they are not visible from the right side of the garment.
6. When you reach the end of the tear, make a few stitches back and forth to secure your work before knotting off your thread on
How to Repair a Tear in Fabric Couch ?
If you have a tear in your fabric couch, there are a few things you can do to repair it. First, if the tear is small, you can try using a bit of clear nail polish or super glue to seal it up. Just be careful not to get any on the surrounding fabric.
If the tear is bigger, you may need to patch it with a piece of fabric. Cut a piece of fabric that is slightly larger than the tear, and use fabric glue or sew it into place. You can also use iron-on patches for this.
Once you’ve mended the tear, it’s important to protect the area from further damage. You can do this by placing a piece of clear tape over the mend, or by covering it with a piece of furniture felt.
How to repair a tear in fabric car seat ?
If you have a tear in your fabric car seat, there are a few things you can do to repair it. First, if the tear is small, you can try using a piece of clear tape to hold the fabric together. If the tear is bigger, you may need to sew it together. You can also use a patch to cover the hole.
How to repair a tear in fabric without sewing
Every home has a closet full of clothes that haven’t been worn in years. While some of these items can be donated or repurposed, others may hold sentimental value. If you have a piece of clothing with a tear or hole, you may be hesitant to get rid of it.
Fortunately, there are a few ways to repair fabric without sewing. One option is to use clear nail polish or super glue. Simply apply the glue to the edges of the tear and press the fabric together. Another option is to use tape.
This method works best for smaller tears. Place a piece of clear tape on the underside of the tear, and then smooth it over the top. You can also use iron-on patches to cover up holes or tears. These patches come in a variety of colors and sizes, so you’re sure to find one that matches your fabric. With a little bit of creativity, you can easily repair any piece of clothing – no sewing required!
How to repair a tear in Sheer Fabric
If you have a tear in your sheer fabric, there are a few different ways that you can repair it. First, you will want to determine if the fabric is torn or just ripped. If the fabric is torn, you will want to use a needle and thread to sew the two pieces of fabric together. If the fabric is ripped, you will want to use a piece of clear tape to hold the two pieces of fabric together.
Once you have determined how to best repair the tear, you will want to gather your supplies. For sewing a tear, you will need a needle and thread that match the color of your fabric. For repairing a rip with tape, you will just need a clear piece of tape.
Once you have gathered your supplies, you will want to begin by mending the tear or rip from the inside of the garment so that it is not visible from the outside. To do this, simply sew or tape the two pieces of fabric together on the inside of the garment. Once you have done this, your garment should be as good as new!
